
Choosing a good host for your blog is important. Reliability, speed and good support are the most important features. As your blog grows and makes more money, you’ll likely move to a higher hosting plan or to a different host altogether. SiteGround is my recommendation for intermediate sized blogs.
![]()
Siteground offers fast, friendly and knowledgable support available 24/7 via chat, phone and tickets. They also offer speed and website performance improvement features to speed up your site and optimize your images. Their platform is extremely handy with user-friendly features and tools to help people set up their websites almost intuitively.
Here’s a great how-to guide to get started with SiteGround. Note this is a general guide as websites change all the time; but this will give you a good overview of the process.
Choose The Best Plan For Your Website
It is important to choose a plan that best meets your traffic and speed needs. I suggest starting with the GrowBig Plan because it comes with tools to increase speed plus it allows for more monthly page views. Here are the difference between the two entry level SiteGround Tiers:
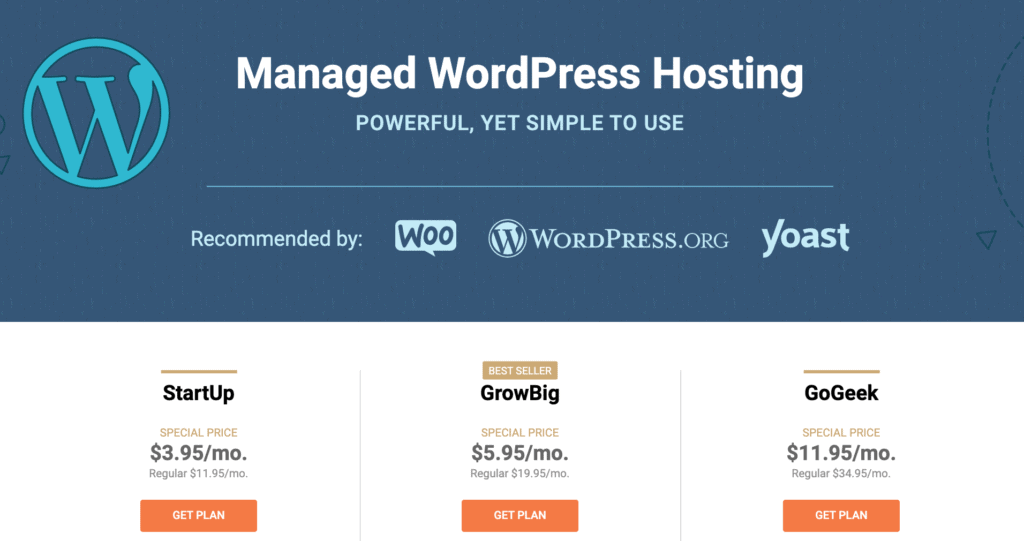
The StartUp plan is suitable for those just starting out. The plan handles approximately 10,000 visits a month. All plans come with free: 1-click WordPress install, autoupdates,free CDN, daily backups and SSL.
The GrowBig plan comes with SiteGround’s in-house built plugin – the SuperCacher, which drastically increases website speed. Both GrowBig and GoGeek come with free website migration, which is important if you are moving from a different host.
Choose Your Domain
Choosing a domain is big important step and you’ll need to know the domain you’ve chosen at this point. Choose a domain name that represents your brand. Make sure you indicate whether you are starting with a brand new domain or if you already own a domain and are just looking to get started with hosting.

Complete Your Order
Next you’ll be guided to a page where you can complete your order. Here you will fill out account information (email and password) as well as personal and payment information. You also will need to choose a data center. You should choose a datacenter close to the location where the majority of your audience will be. For instance, I reside in the United States, and most of my traffic comes from the U.S., so I would choose a datacenter in the United States.
Install WordPress
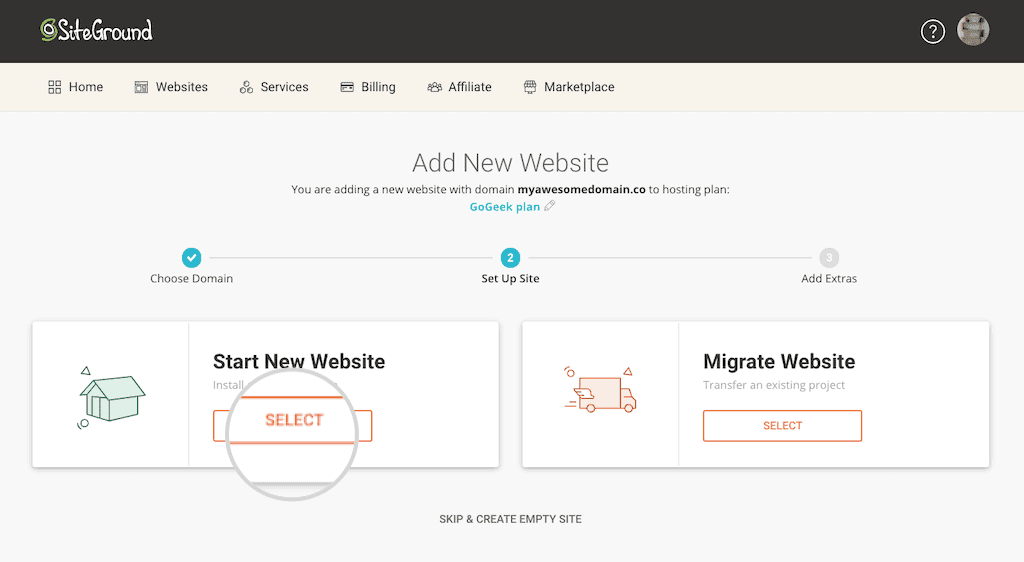
Once your account is created and you logs in the first time, you’ll see the option ‘Set Up Site’. By selecting it and then choosing ‘Start New Website’ on the next page, you will be guided to a page, where you can choose the web application for your website.
Here you can select ‘WordPress’ and choose your email address and password for your WordPress account, and hit ‘Continue’. This completes the WordPress installation. Don’t forget to save your account information somewhere safe as you’ll need it in the future.
Set Up Your Website
When you log in to the WordPress admin panel for the first time, SiteGround WordPress Starter will automatically appear to help you set up a fully functioning site. Simply click on the START NOW button to initiate the process.
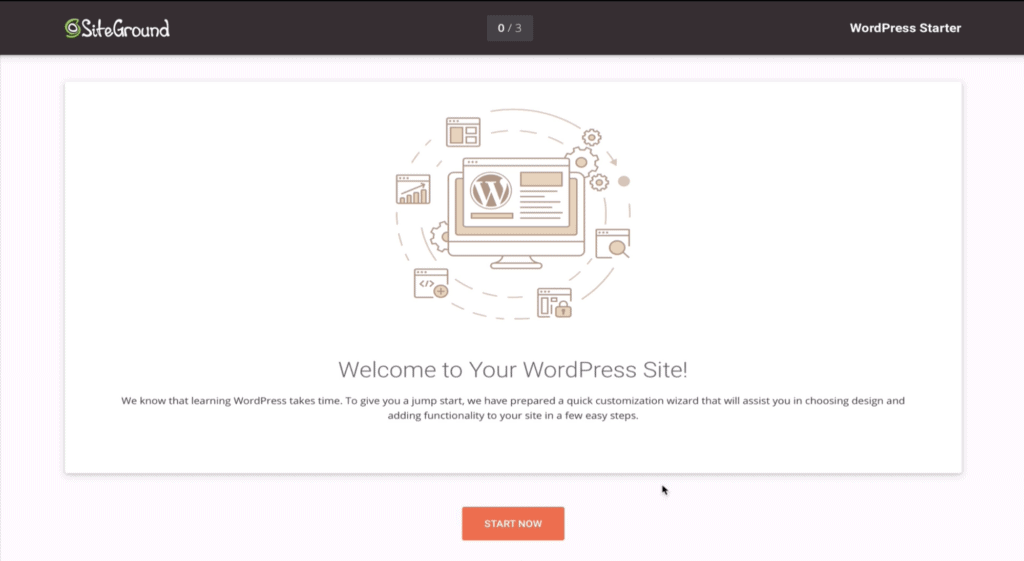
The WordPress Starter plugin will guide you in the first steps of building your new website. It will help you choose a theme, and install some of the essential plugins.
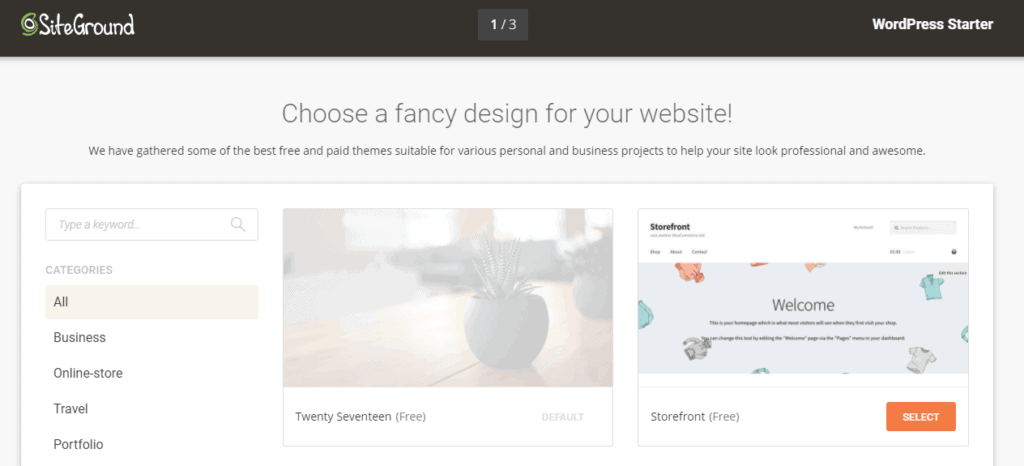
Choosing A Theme
SiteGround offers a wide collection of modern and beautiful looking themes, organized in categories. The theme of the website should match the needs of the visitors, so it makes sense to select it carefully.
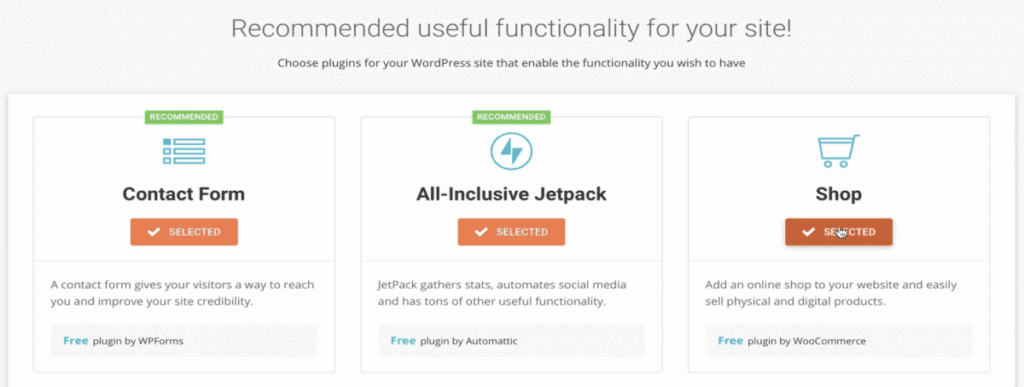
Adding Useful Functionalities and Plug Ins
After adding a theme, the next step is to add functionalities (plugins, etc) to your WordPress site. SiteGround offers a list of great plugins and marketing tools such as these:
- Contact Form, so the visitors can easily contact you
- All-inclusive Jetpack plugin that lets you automate your social media, gather statistics, and more;
- Google Analytics – you track website traffic and also find other advanced website data.
- Yoast SEO – a popular search engine optimization tool
After the you’ve made your selections and clicked on the button “Complete”, your new WordPress website will be ready in a few minutes with all the added functionalities! You can then access your site from http://yourdomain.com/wp-admin (where “yourdomain” is the domain you picked earlier). And you’re ready to tart adding content using the custom WordPress dashboard.
Congratulations on your first big step to success!
Leave a Reply