
Choosing a good host for your blog is important. Reliability, speed and good support are the most important features. As your blog grows and makes more money, you’ll likely move to a higher hosting plan or to a different host altogether. Bluehost is my recommendation for beginners.

I recommend Bluehost to beginners because it is a very low cost way to see if blogging is for you. It is what I used when I got started. In full disclosure, there are some bloggers who don’t care for Bluehost over concerns about site speed and downtime. I was with Bluehost until I started receiving around 100,000 pageviews a month (at which time I upgraded to Big Scoots for hosting). I had a very good experience with Bluehost. My site always ran smooth and any down time was minimal.
I always suggest new bloggers start with Bluehost because they are just so affordable. When you start, you often don’t know if you will enjoy blogging and don’t want to make an expensive, long term commitment. Bluehost makes it easy to take a chance on a new business without a huge investment out of pocket.
And best of all, it is super easy to get started (keep reading to see special pricing for my readers). You don’t need a degree in computer science to figure this stuff out.
Real people start successful blogs every day and you can be one of them. Follow my tutorial and in about 10 minutes your blog will be live on the web! Isn’t that exciting?
Step 1: Get Started
Click here to start a blog on WordPress, then use the tutorial below for the easy directions! Note this is a general guide as websites change all the time; but this will give you a good overview of the process.
When you click Click here to go to Bluehost, the link will open in a new window so you can refer to these instructions as you go along. Click the Get Started button.
Step 2: Select Your Plan
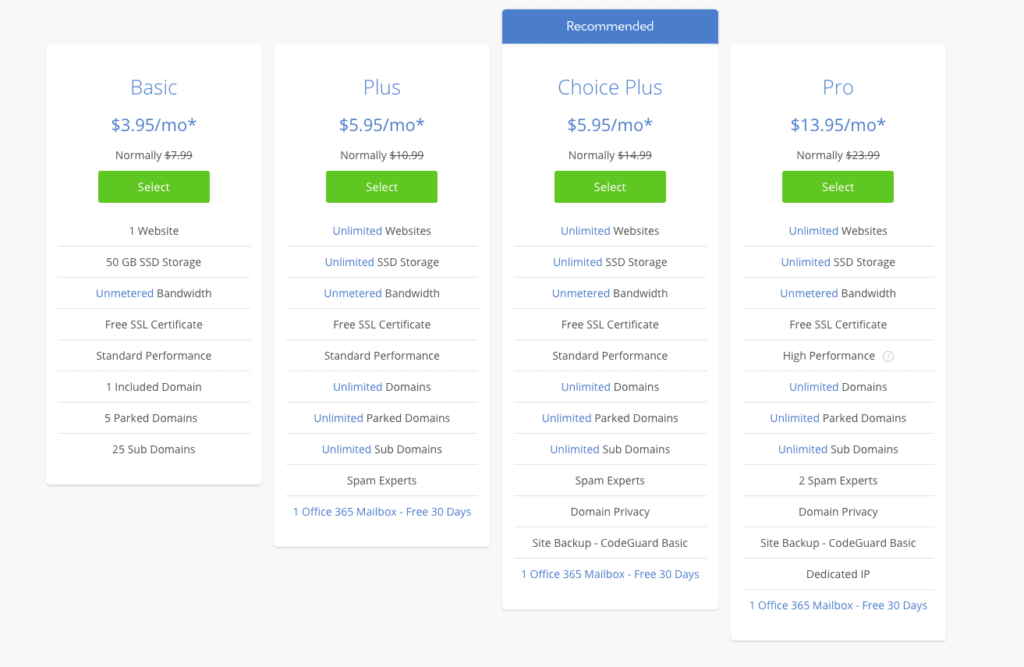
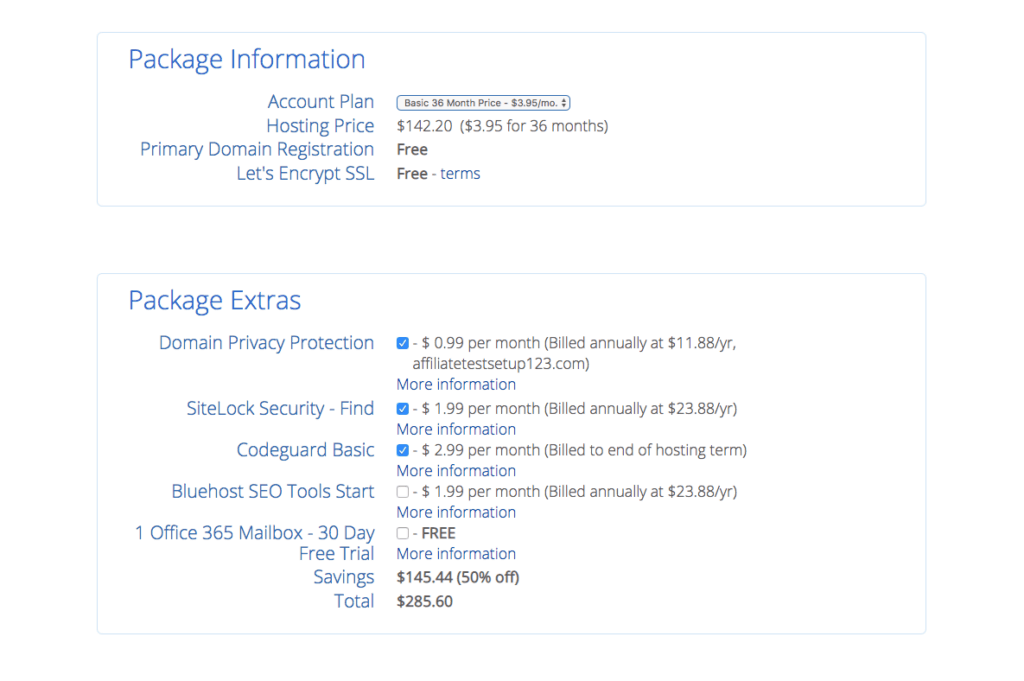
I recommend the basic plan to all new bloggers. It’s really inexpensive and covers everything you need, including your domain name. You do need to pay for the first year upfront in full to get this awesome price. I went ahead and paid for 3 years when I signed up for my hosting to lock in the super low introductory price.
The only other thing you may want to consider is Domain Privacy Protection which is only $0.99. That way your contact information stays safe and private. I hate getting advertising in the mail for every little thing and I don’t like someone looking up my website info and finding my home address and so I went ahead and paid for the privacy protection.
Step 3: Choose A Domain Name
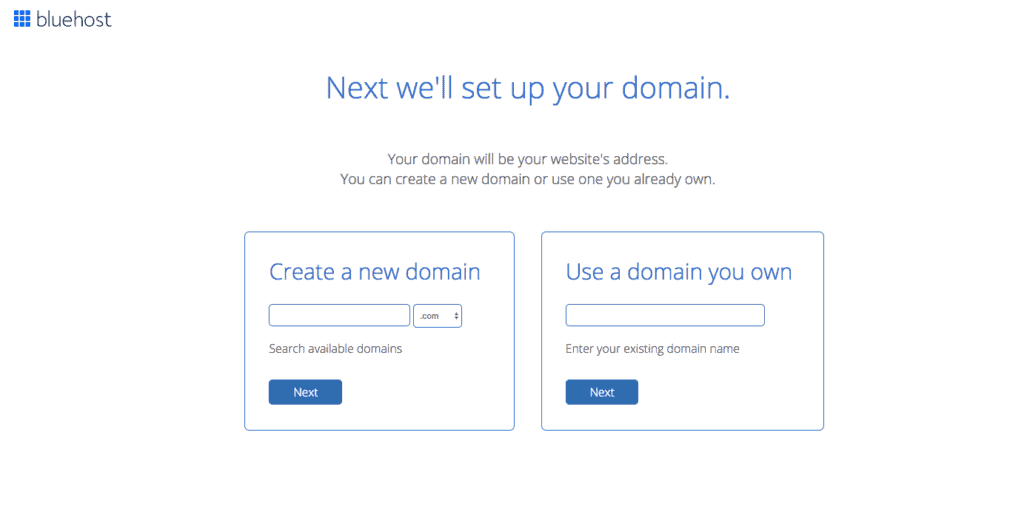
A domain is your web address. You will want to think carefully about what name you want to use for your blog. I came up with the name Crochet 365 Knit Too because I like to crochet all the time and I wanted the ability to showcase some of my knitting patterns if I chose to do so at some point. I also liked the name because it’s a play on knit ribbing which is often written as ‘knit 2, purl 2’. I felt it was unique. You should give some serious thought to your domain name. Maybe do some research to pick just the right name (and one that is not already taken).
If you are getting the free domain with Bluehost through my link, you will want to click on the button on the left to set up a new domain. If you have a domain elsewhere (like GoDaddy), enter it on the left side. If you need a new domain, but don’t want to choose it right now, take advantage of Bluehost’s pop up which will let you decide the name of your domain later.
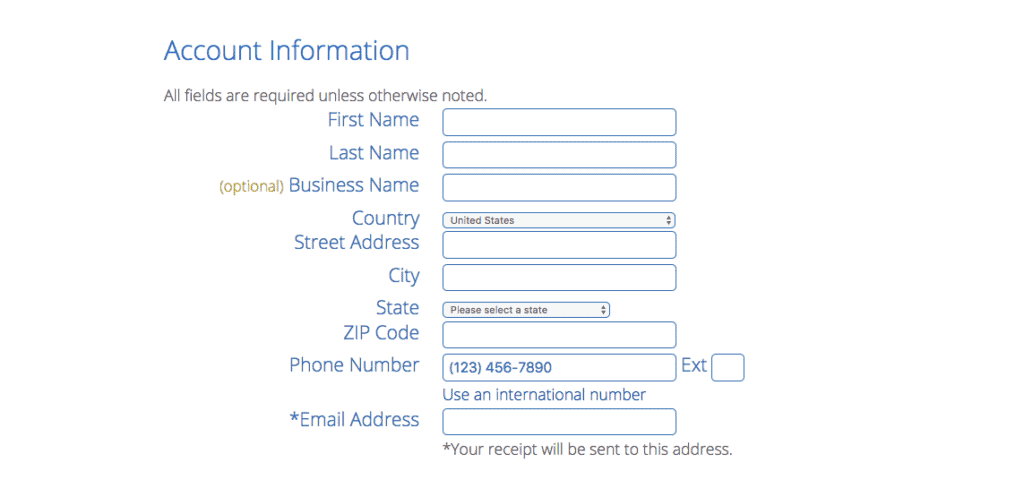
Enter your Account Information:
On the next page, enter the information for your account. Be sure to use a valid email account since this is where Bluehost will send your login information.
Enter Your Billing Information:
Fillin your billing info and make sure you read the fine print, check the box and submit.
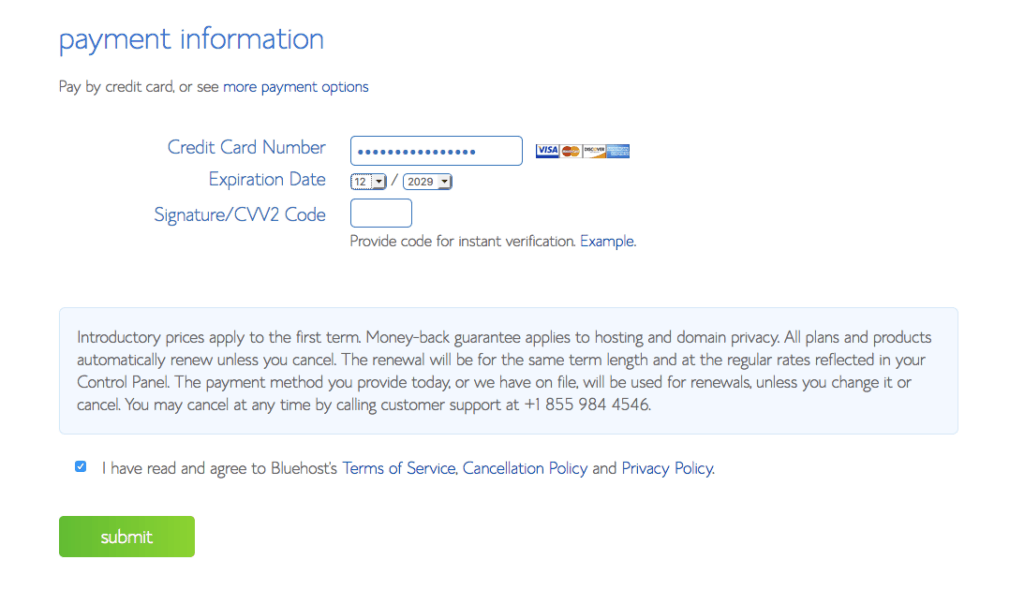
Next, decide how far in advance you wish to pay. Bluehost offers a 1 year, 2 year or 3 year plan. I signed up for the 3-year plan so I could lock in the low introductory price.
Don’t forget to check the box for the Domain Privacy. To start, you can uncheck the other boxes. You should definitely sign up for at least a 12-month hosting plan and I recommend going ahead with the 3-year plan. It locks in your low price.
Skip the Upgrades and Special Offers
After you’ve hit submit, Bluehost might ask you about upgrades and special offers. No need to jump on these.
Check Your Email
Bluehost will send you some welcome emails and they’ll include your login information. You want to make sure you find those–be sure to check your SPAM folder, if need be, and mark the emails as ‘not junk’.
Activate Your Domain
One of the emails will have a link to activate your domain. All you need to do is follow the prompts in the email to activate your domain.
Choose A Password
At the end of the process, you will be welcomed to Blue Host and will be asked to choose a password
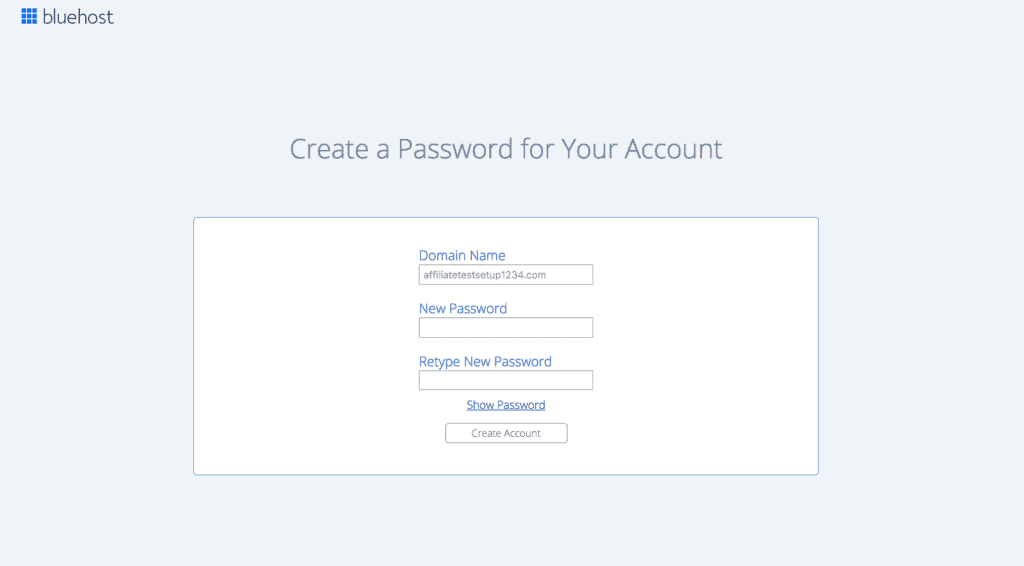
You will need this user name and password so you can sign into your blog.
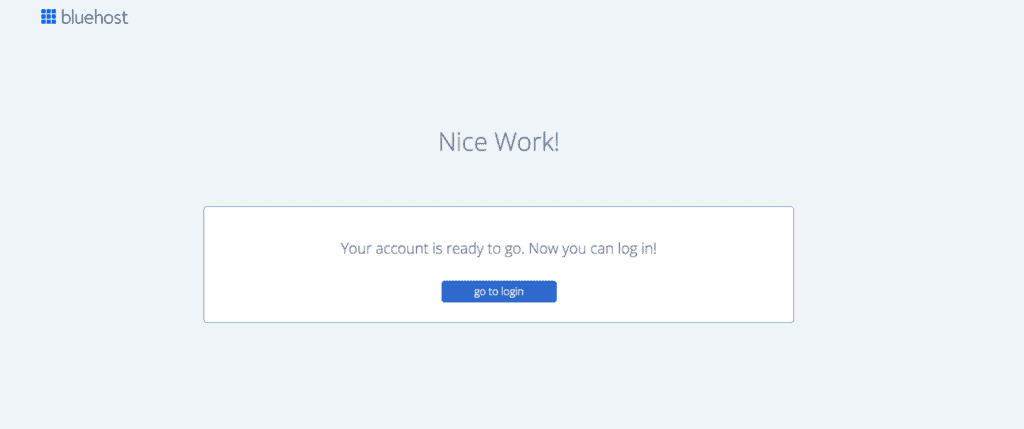
Step 4: Get Started With Word Press
Click on the blue button on the Congratulations screen to get started:
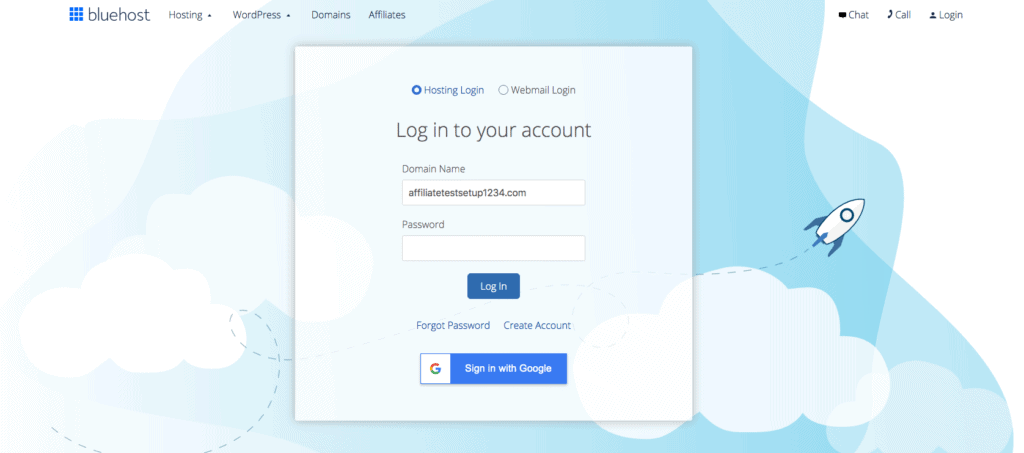
Log Into Your Account
Go ahead and log in to your account and click ‘Log In’
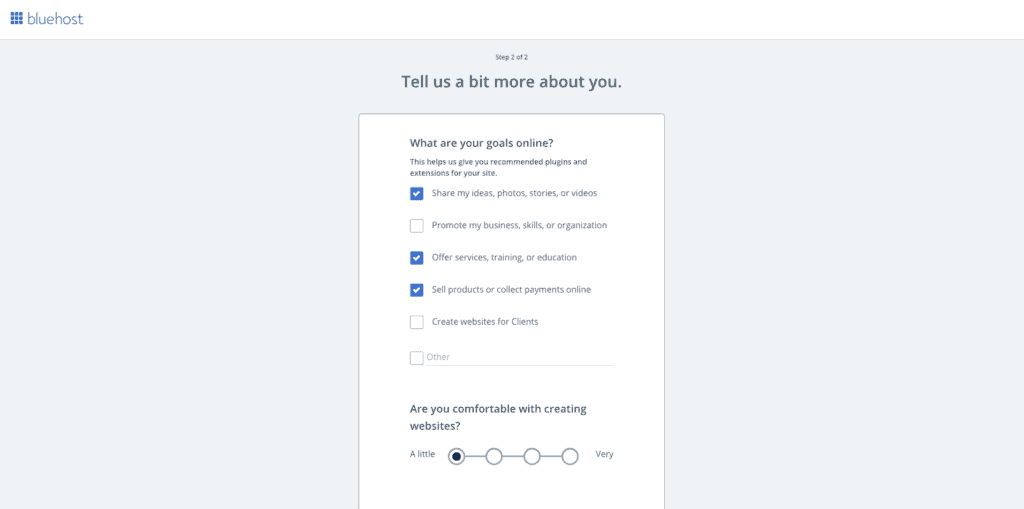
Bluehost Gets To Know You
Next you will go through a few screens where Bluehost gets to know you and your site better.
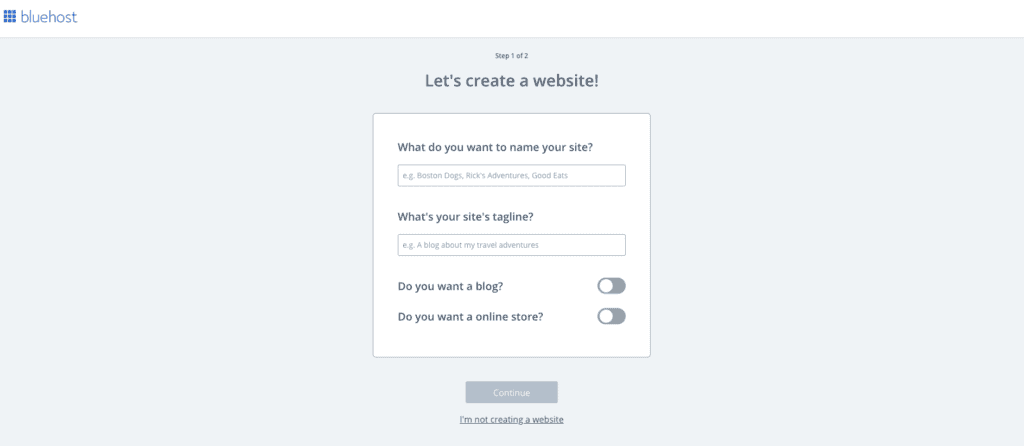 Don’t worry too much about answering one of these questions wrong; you can always tweak things later if you need to.
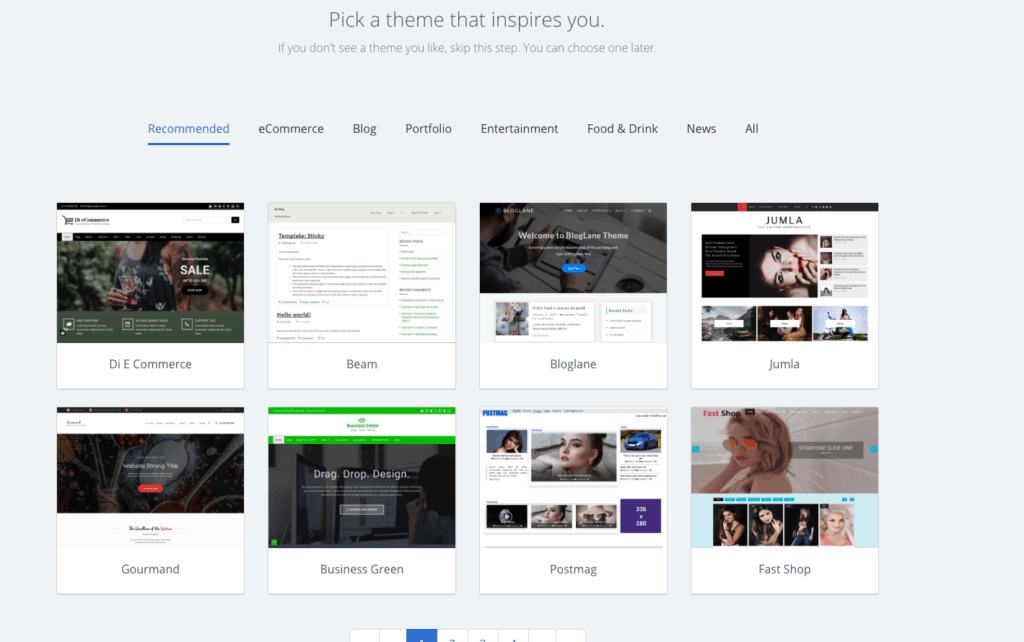
Choosing A Theme
Bluehost will give you an option to choose a different free theme at this point. I recommend that you wait for now and just go with the free theme Bluehost automatically installed. You may want to choose a different free theme later or go with a paid theme. But you will want to do some research. Free themes are not always kept up to date and if they are outdated they may have weaknesses that hackers can exploit.
I use the Genesis Framework and the Foodie Pro theme (which I’ve customized for my site). For now, I recommend you click on “skip this step” to move on and decide on your theme later.
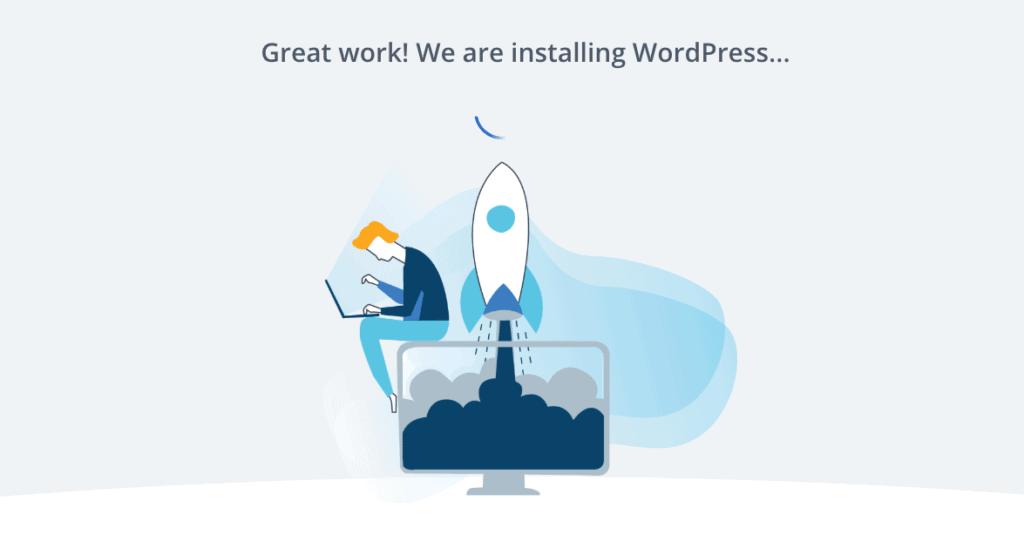
Bluehost Installs WordPress
Next Bluehost installs WordPress automatically! Yay! It’s getting exciting now!! You’re in the home stretch!
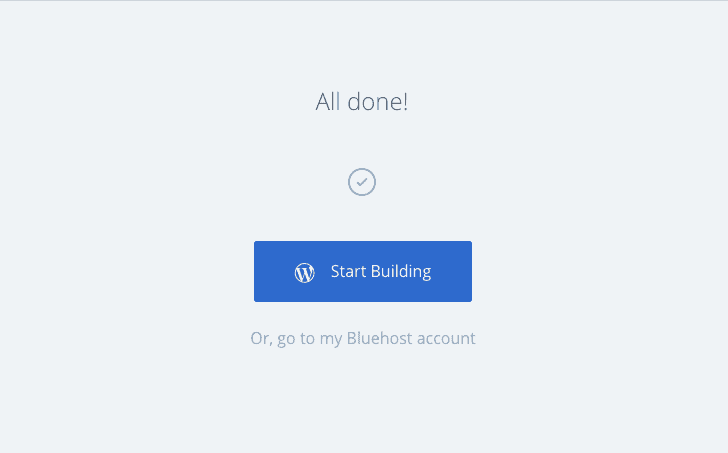
You will then have the option to Start Building your site or to go to your Bluehost Account. Click the blue button to start building your site!
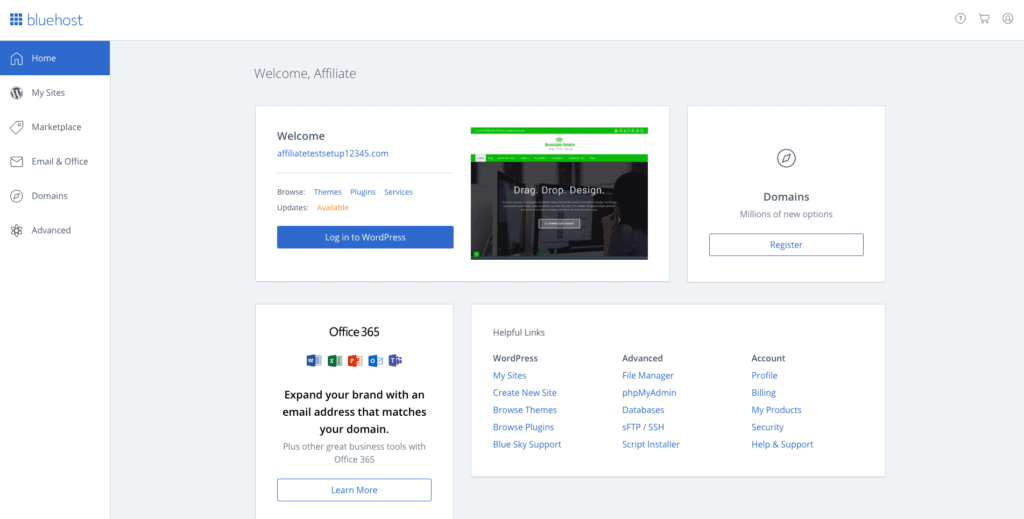
Bluehost cPanel
Bluehost directs you to your cPanel. You won’t hang out here very often, but its where some of the backend things to your site are located. For now, just click on the blue button to Log In To WordPress.
Welcome to WordPress!
Welcome to your new blog! You’re now in the admin section of your new website!
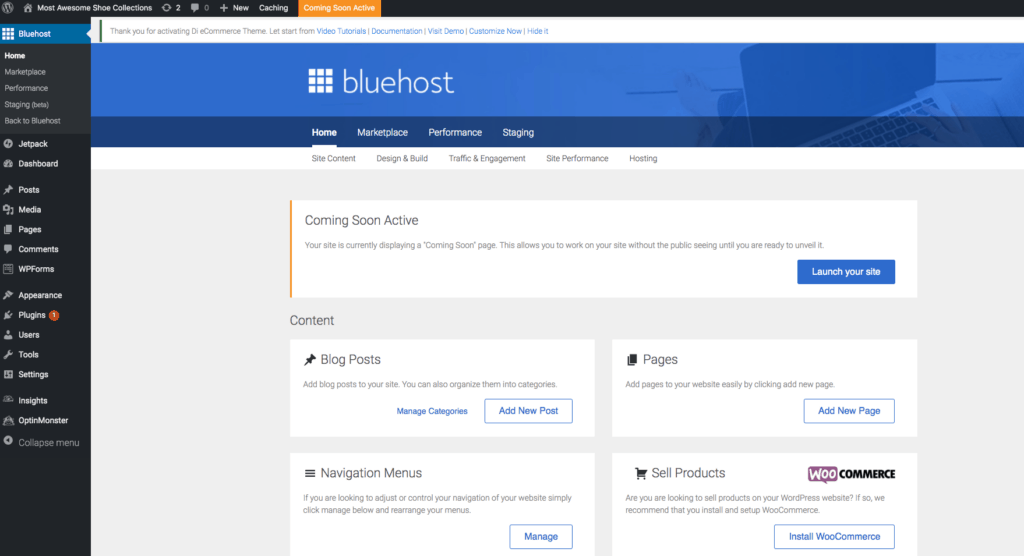
The black column to the left is your WordPress Dashboard. It is where all the action happens. From here you can access posts, pages and everything else you need to work on your blog. Please note: If you go to your website and want to get to your dashboard, just add “/admin” after your web address in the URL. That will take you to a log in screen and you can log in to your blog. If you are already logged in you will see the black bar at the top of your website and you can use the clickable links to get into areas of your dashboard from there.
Here are a few more tips on how to navigate WordPress (the items in the black, left column):
- The email you received includes your login URL along with your username and password. Be sure to keep that information safe. This is what you need to log into your blog.
- You can add new posts by clicking on “Posts”. You can add pages by going to the “Pages” section. When I started blogging, I was confused on the difference. Here’s the way I like to think of it: I use “posts” for things I want in a blog format. When you come to my website, you will see the most recent post on top and the older ones (in reverse chronological order) are below that. I use “pages” for things that are more static.
- Images and other files are uploaded in the “media” section. Upload all your images here. When you are working on a post or a page, you have the option to “add media”. Once you click that button you will see what is saved in your media area OR you can add a file or photo from there as well.
- There are a lot of settings in “Appearance” and “Widgets” to play around with. Here you can add items to your sidebar, footer and so on. I always recommend changing one thing at a time and then checking your website. Widgets, especially, do not always play nice with each other. They are awesome–don’t get me wrong– but just pick and choose a few to implement at a time.
- If you want to send out newsletters and emails to your readers, I recommend Convertkit. This is what I use and I love it.
- If you want to change the actual design of your blog, Genesis is the most popular. On Crochet365KnitToo I use the Genesis parent theme along with the Foodie Pro child theme. There are a lot of themes available for free or for purchase. I picked Foodie Pro because I like the ability to have my free patterns show up in an index. I use the “recipe” section of Foodie Pro to show my patterns in an photo index.
Step 5: Get Your Feet Wet or Dive In!
Blogging is fun and rewarding. At first, it will take awhile for people to find your website. It’s the perfect opportunity to try things out, make mistakes and just learn all the things. If you feel overwhelmed, just take each task, one at a time. Master one thing before you move on to the next thing. You can do this! I can’t wait to see what you put out into the world!
If you missed the link to get started, just click here to get started with Bluehost and then scroll back up so you can follow along with the tutorial.
Leave a Reply